

4BSV with Vacuum Stem Tip Creation
NOTE: ONLY DO ONE AT A TIME!! Each top section is specific to each valve. Will cause leaks if not paired correctly.
- Tools for the modification:
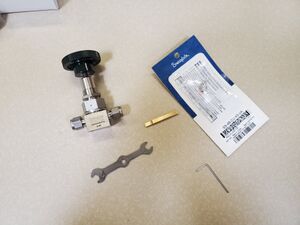
Tools needed for the 4BSV modification. - Loosen the two setscrews with the allen wrench and remove the knob.
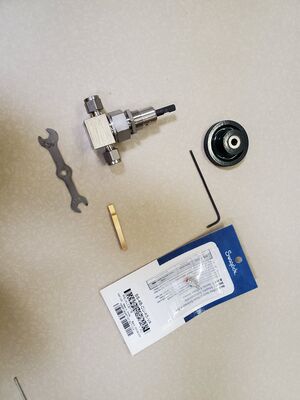
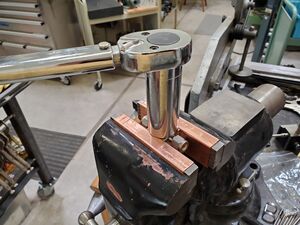
Tools needed for the 4BSV modification with the BS valve knob removed. - Remove the top part of the valve using 1 inch wrench.
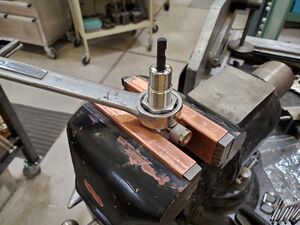
4BSV in a vice grip with the top part of the valve being removed with a 1 in. wrench. - This is what it will look like after removing top part of valve.
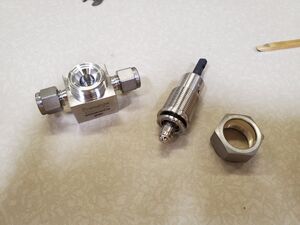
4BSV dissembled. - Here is a top view of body with old silver gasket still in place.
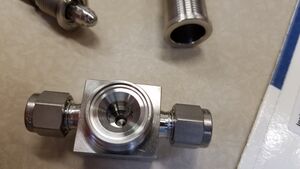
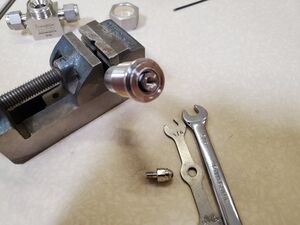
A top view of the BSV body and the old silver gasket still attached to the stainless steel stem. - These are the tools for mod. The brass tool can be used to pick and lift out the old silver gasket. Do not remove silver gasket, only the stainless stem tip.
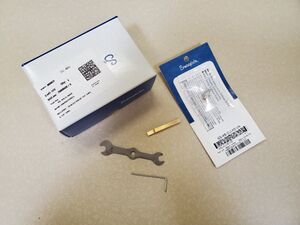
These are the tools needed for the BSV adapter modification. - Ready to remove stainless stem tip. Use BSV stem tip wrench instead of 1/4 inch wrench. A 5/16 inch wrench also required.
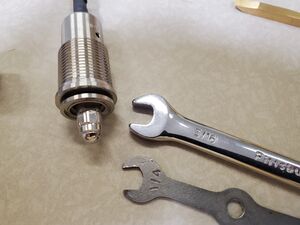
Replace the stainless steel stem's silver gasket using the two different size wrenches. - Remove the stainless steel stem tip.
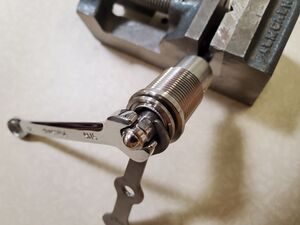
Two wrenches removing a silver gasket from a stainless steel tip part belonging to a 4BSV. - Here is the stainless stem tip removed.
4BSV stainless steel stem with the silver gasket removed. - This is what it will look like when the copper stem tip as received.
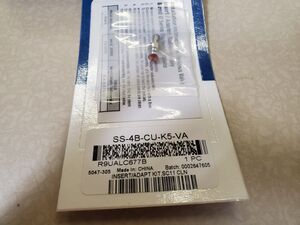
The copper BS valve adapter in its original packaging. - Here you can compare the valve stem with stainless tip still installed verses the copper tip beside it.
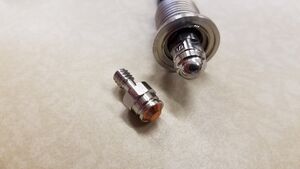
A copper stem tip verses a silver gauge for a 4BSV. - Now, install copper stem tip.
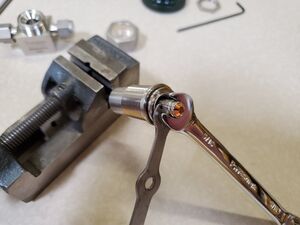
Installing the copper tip adapter in the 4BSV stainless steel stem with two different size wrenches. - Notice the torque wrench setting: 33 foot-pounds,
If an old gasket is being used then the wrench will need to be set to 44 foot-pounds.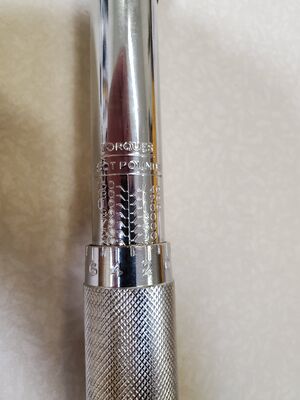
A close up image of the labels on a torque wrench. - This tool is a torque wrench socket: 1-inch, deep socket.
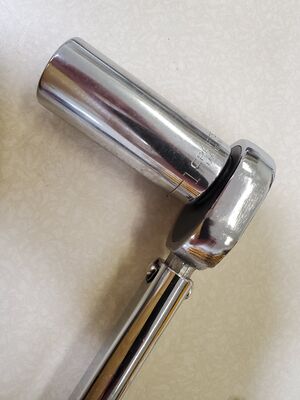
A 1 inch deep socket attached to a torque wrench. - Reinstall top part of valve and tighten the nut with the torque wrench.
A stainless steel stem being reinstalled on the 4BSV base with a torque wrench. - This will be what the valve will look like reassembled.
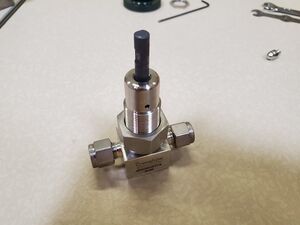
A assembled bellows-sealed valve after it has had the copper tip installed into the stainless steel stem.

.jpg)


.jpg)

.jpg)


